There is, however, one more modification I am going to make, which may not be strictly screen-accurate – but it’s for my own personal comfort!

The shirt I bought was an XXL, which for me is ludicrous, as I normally wear a simple L. As a result, the sleeves are bordering on being too long and the collar is slightly too big for my neck, BUT the body of the shirt is tight around me.
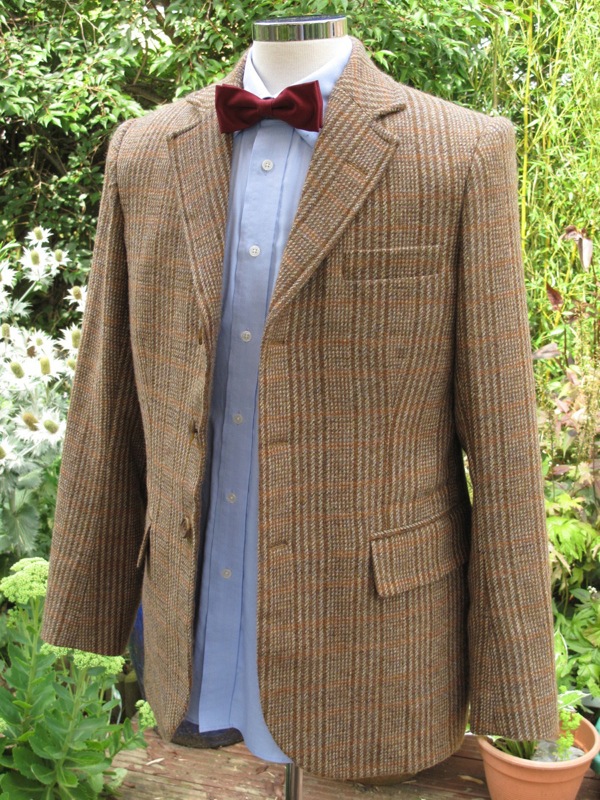
Having studied the shirt carefully, I realize there is an easy way that I can make it fit better. The back of the shirt has a dart on either side, taking in around and inch each side (see above).
Notice how the shirt is quite taught around my tailor’s dummy.

There will be a little scarring where the stitching was, but this will be in the back and will hopefully get lost in the pattern of the fabric anyway.
Furthermore, the centre of the back has a double-pleat, as do most dress shirts. However, a conventional shirt has just the tops of these pleats sewn at the yolk-line, allowing the folds to drop out within a few inches. The Paul Smith PS shirt does this a little differently, with a line of stitching running the full length down the back to keep the pleat sharp to the hem. My plan is to unpick this as well and re-sew the hem opened out, giving a further inch and a half across the back.
 This will give me a grand total of an extra 3.5 inches across the width of the back!
The fabric is very thin and delicate, so the un-picking has to be done with care. All goes well and after doing all I intended I find the back has become a lot more loose as required.
All I then need to do is re-hem the bottom where I have released the centre back pleat (see left).

You can see in the picture (see right) how loose the back now is compared to the BEFORE picture at the top of this posting (shown again, below).

So at last I now have my fully modified shirt ready to wear!
below is the burgundy version for myself.

Look out for his Review of his shirt in a future posting.


No comments:
Post a Comment
Note: only a member of this blog may post a comment.